The company I work at has an annual hackathon where teams come together to build all kinds of crazy stuff over 3 days. The team I work with seized the opportunity to build a 3D printer that really doesn’t have any reason to exist. It prints parts out of 3/4” wood sheets and the results are pretty cool.
The vision was simple: We want a giant wooden benchy and we want it now. For those who don’t know, a benchy is an informal test part used in 3D printers to evaluate their performance.
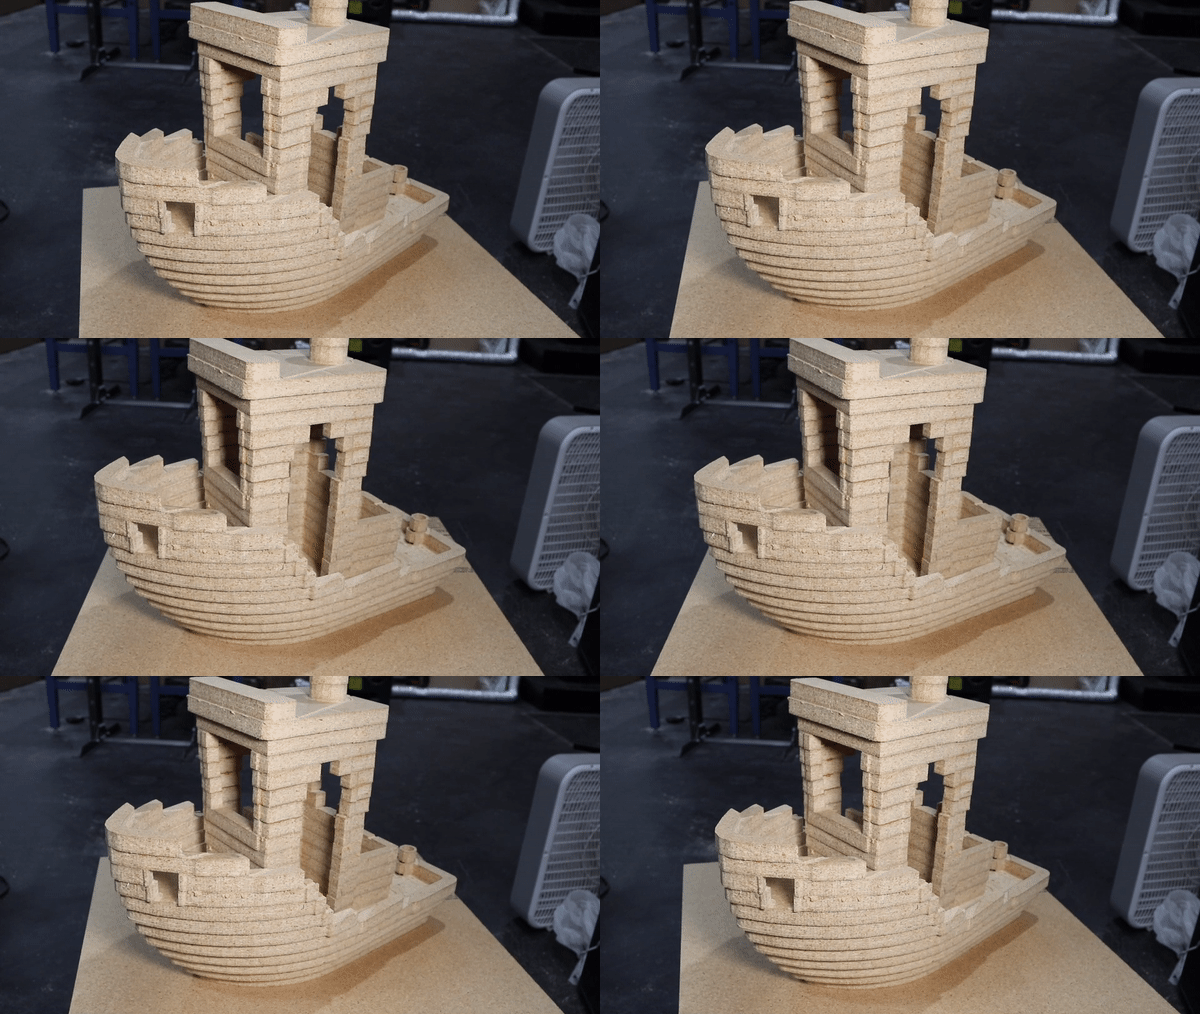
We toyed with different ways of building a wood part but ultimately settled on routing it from 3/4” particle board simply because it A) sounded like fun B) seemed to be the most tractable given the short time and most importantly C) we couldn't get any other thicknesses of particle board locally.
We really wanted to actually complete the printer so our approach to the design centered around choosing designs that had as few risks and unknowns as possible. Basically we wanted to do no R&D. Wherever possible we used off the shelf components and the machine has zero closed loops that we had to control.
The printer works by:
- Divide a desired object into a sequence of discrete layers
- Take a sheet of wood and cut the first layer out of it
- Glue a new sheet of wood to the first layer then cut the next layer out of it
- Repeat until the part is done
Following is the specifics of how we implemented these steps.
Gantry / Router
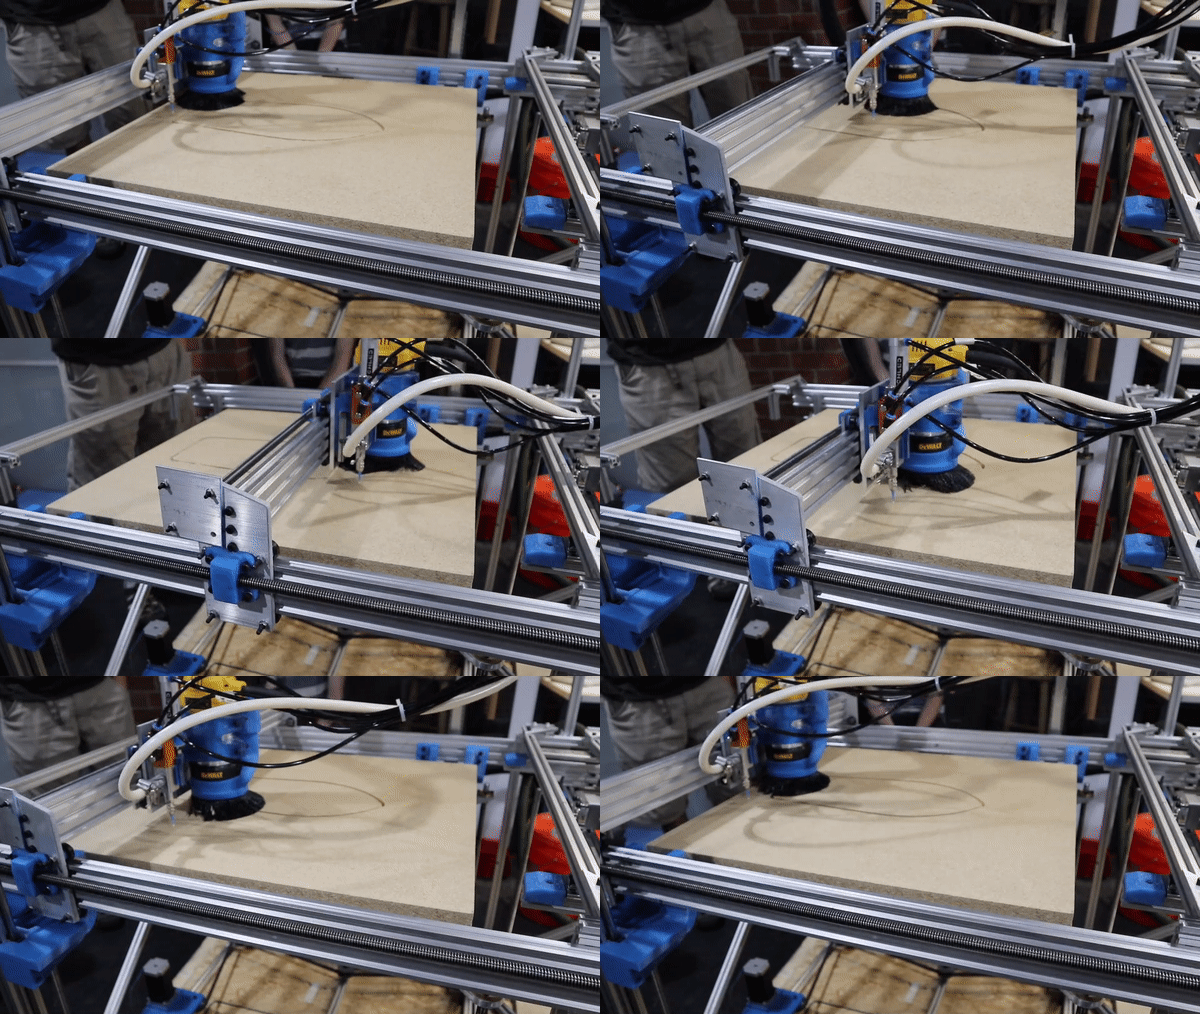
This is one of the most straightforward parts without really anything special to note. It's an XY gantry that uses extrusion and V wheels for the linear guides and stepper motors and lead screws for the actuators.
Sheet Gluer
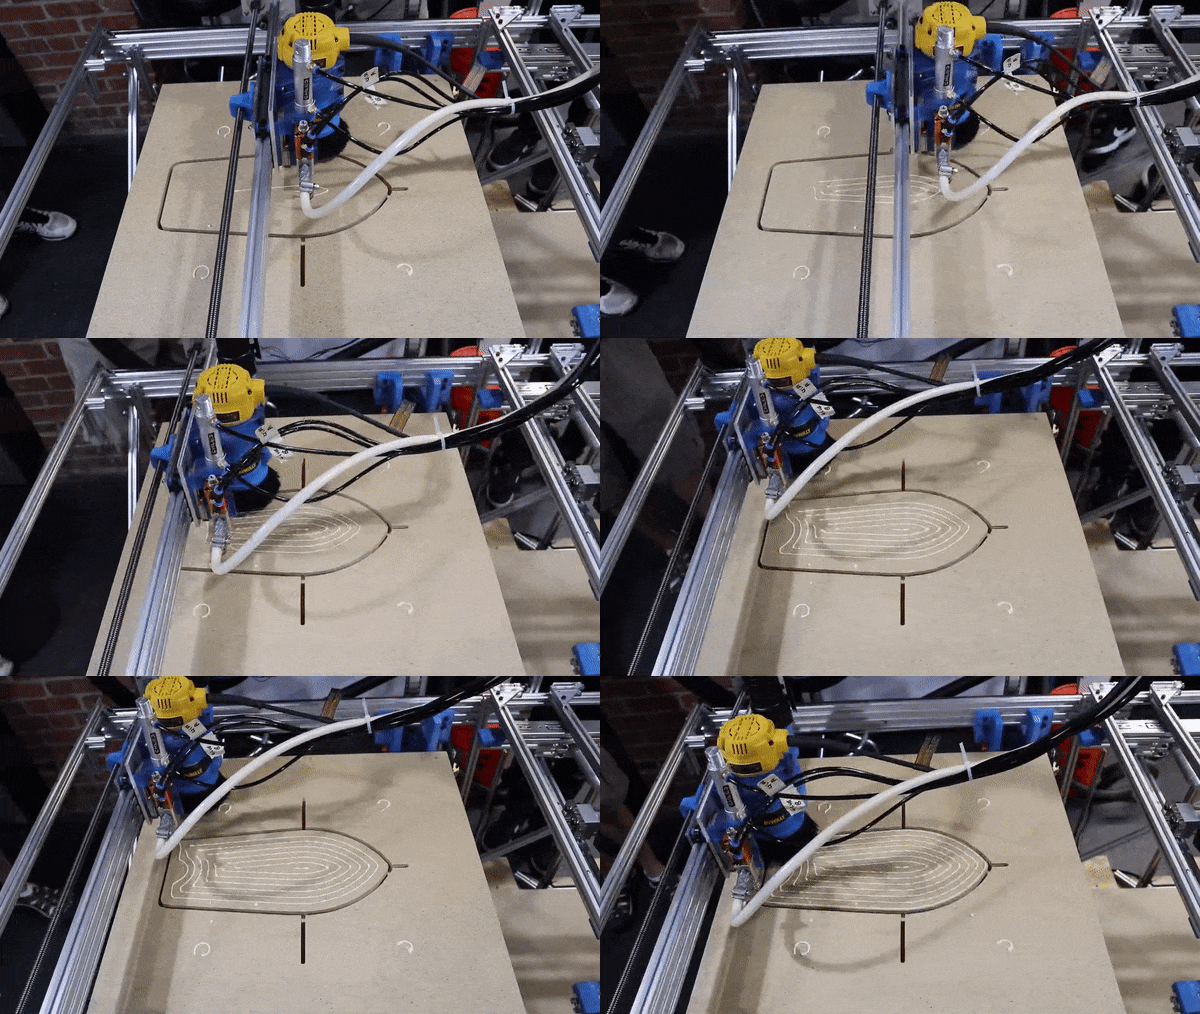
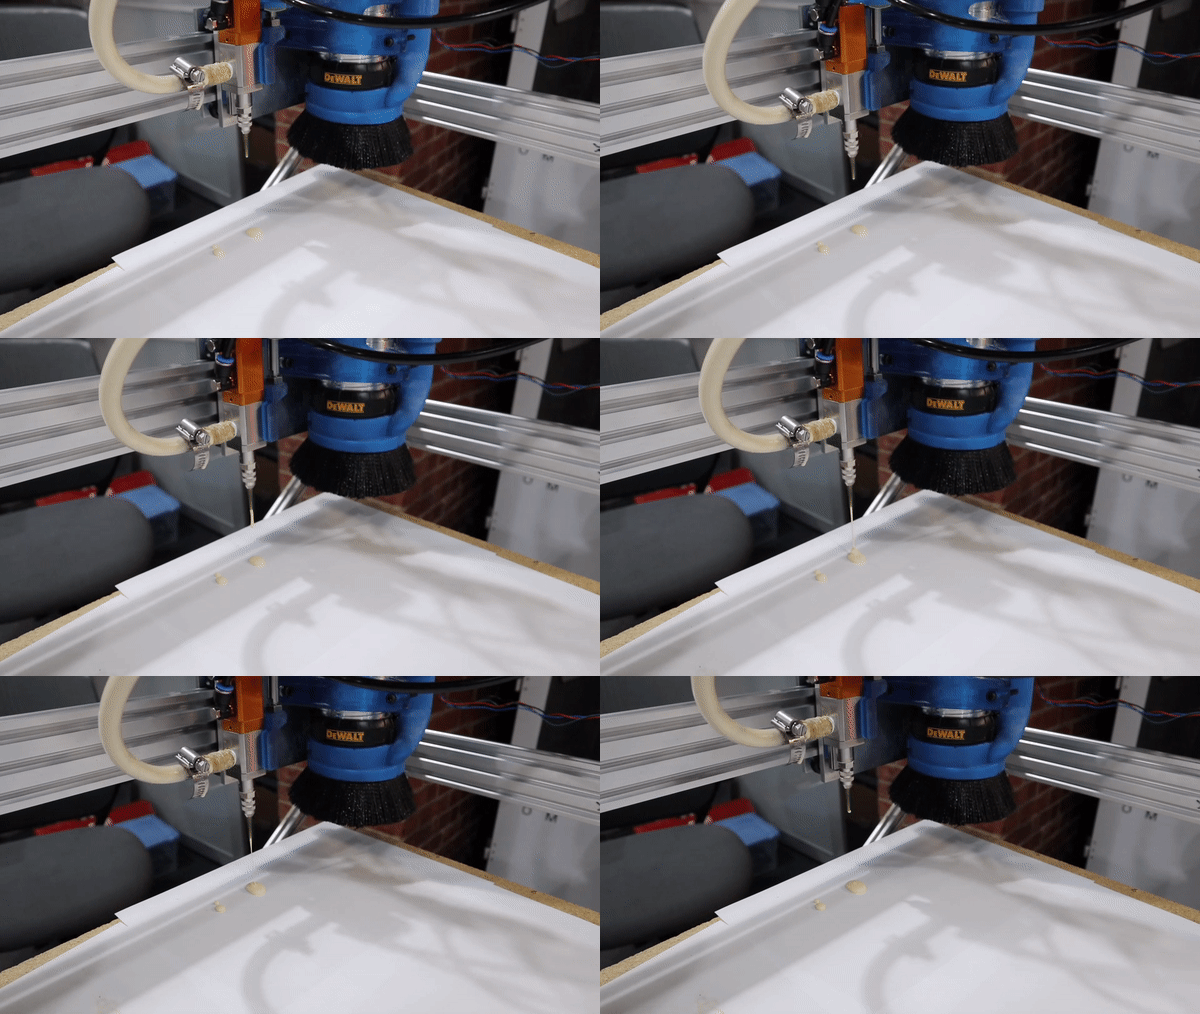
The layers need to be glued together in order for this to work. This problem was slightly tricky because we needed a reliable way to dispense a well defined stream of glue. You have to be precise as glue in the wrong places can make the part impossible to get out of the plywood stack. We avoided solving this problem altogether by using an off the shelf pneumatic glue head attached to the same gantry as the router which allows us to draw whatever glue pattern we want.
The second problem to solve was getting the glue head out of the way when we are routing. This was done by making a mini pneumatically actuated stage for the glue head.
New Sheet Feeder
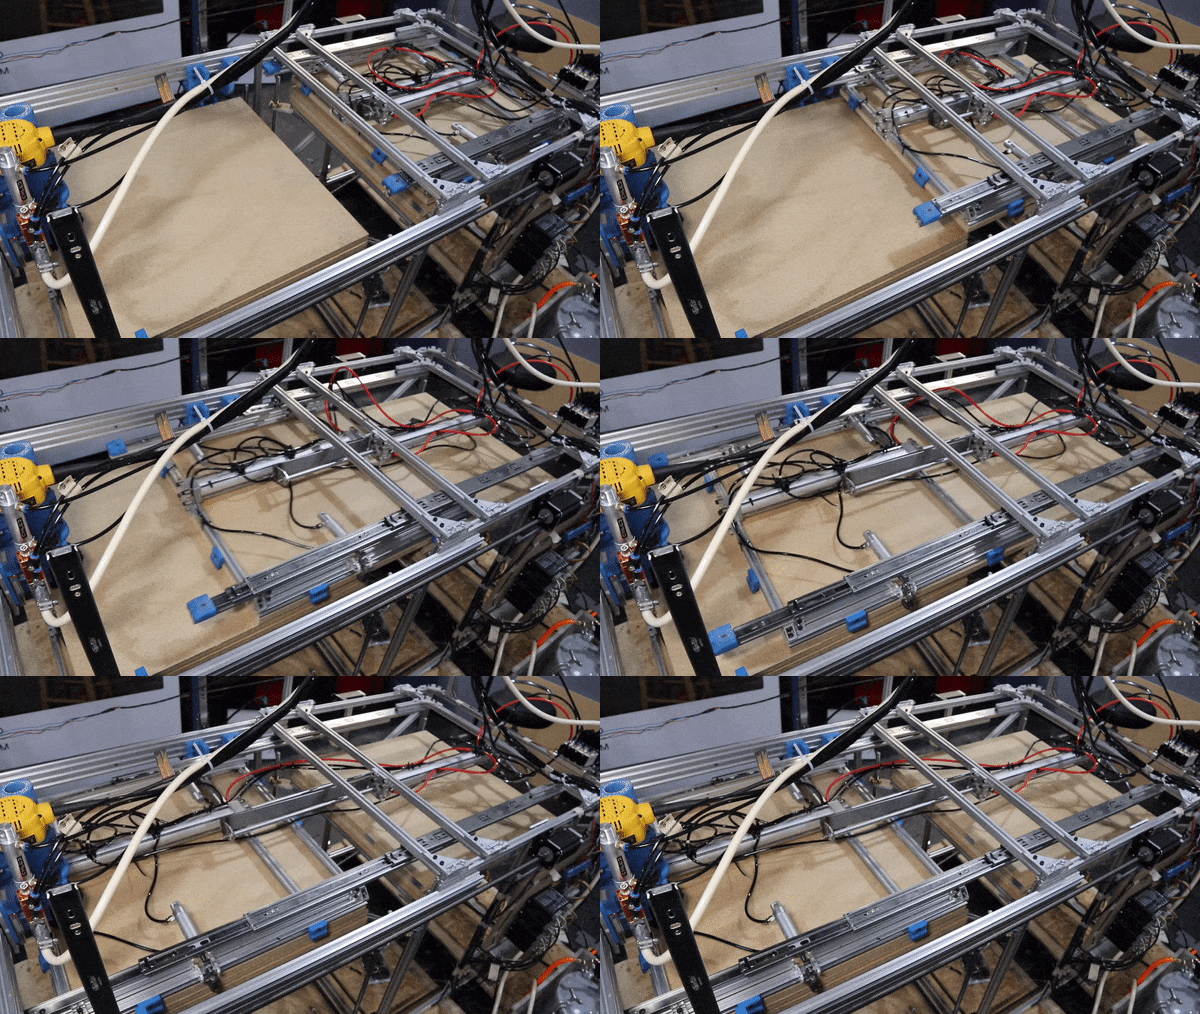
This was by far the most difficult problem in the system to solve well. The sheet feed has to do a few things:
- Bring in a new sheet of plywood from a stack without rubbing the previous layer to avoid smearing glue
- Lower the sheet onto the previously printed layer
- Be strong enough to press against to ensure the sheets actually bond together
We toyed with several different ideas but ultimately settled on gripping the sheet with three pneumatically actuated spikes. This is a very reliable way to hold a variety of sheet sizes. The spikes are integrated into a movable frame on drawer slides that can be pushed in and out of the build area with an overly complicated pneumatic actuator (we didn’t have a long enough one)

To allow pressing, the movable frame rests against hard stops in the machine which support the load as we drive the Z axis up into it.
Unfortunately in the heat of the moment we oriented the drawer slides the wrong way which makes them significantly droopier than they needed be. This is a simple fix for the future.
Z axis
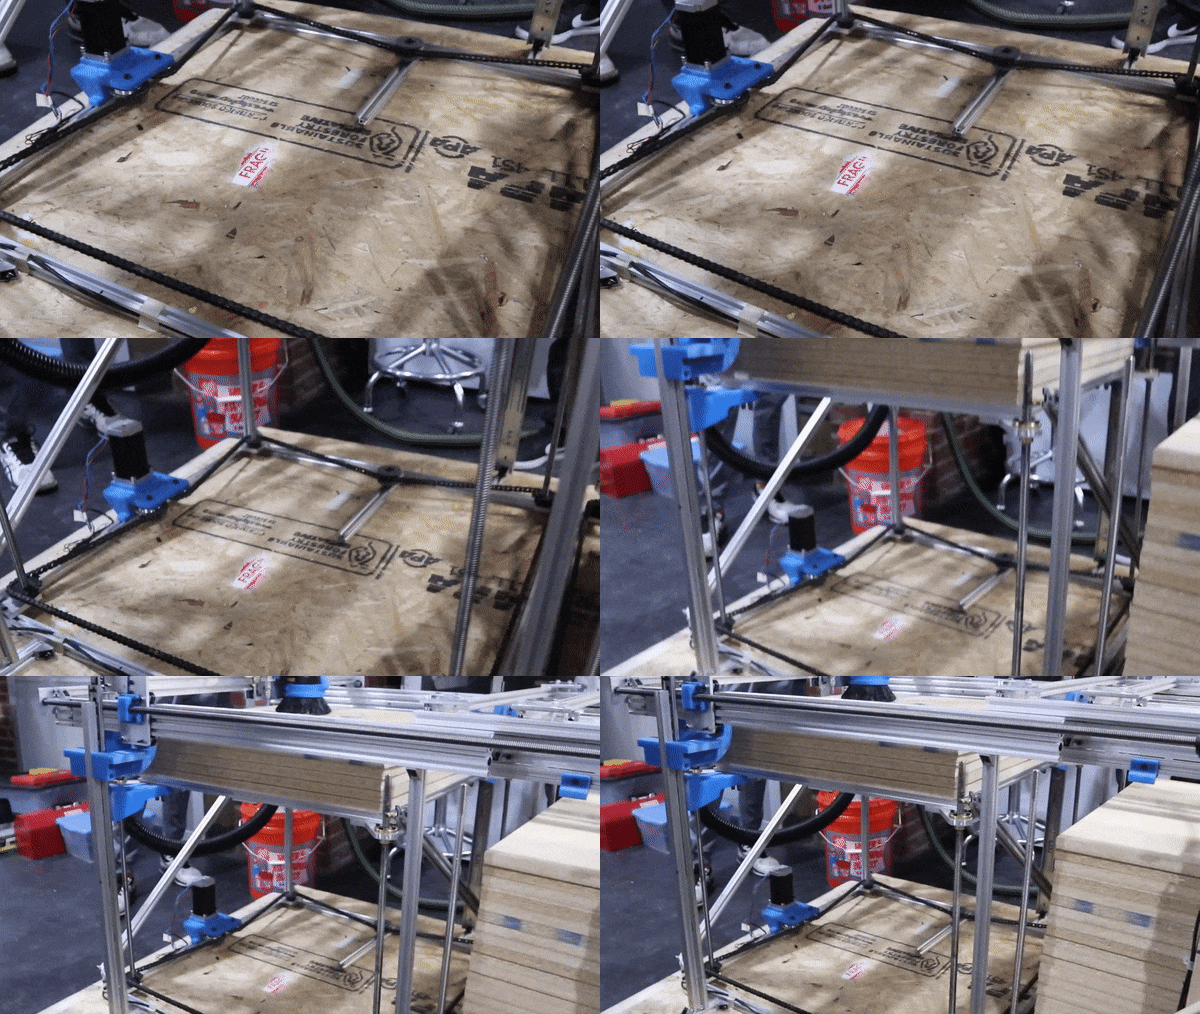
Like the gantry the Z axis is relatively straightforward. The only tricky part was that it has to continuously raise and lower up to ~350lbs of plywood as well as apply additional pressing force on top of that for bonding sheets. We used four lead screws chain driven by a single large stepper. The stage is guided by budget friendly drawer slides. This worked reasonably well but as expected the screws were very painful to align. If we did it again we’d do it differently just to save us from the alignment hell.
Electronics & Firmware

Our electronics consisted mostly of chained together off the shelf modules. We used an off the shelf relay board to trigger the pneumatics, lights, and horns. We're running G2Core (the ARM port of TinyG) on an Arduino Due for motion control and a BeagleBone Black for our machine controlling firmware. The stepper drivers are off the shelf and came with the motors. It was great to have a stable motion controller and to be able to use canned G-code for routines like sheet feeding.
Toolpath Generation
.gif)
We created our own pipeline to generate tool paths for printing. This consisted of what moves the router should do, what moves the glue head should do, and sequences for all the pneumatics. These were compiled into gcode files which were executed on the machine in sequence. There are endless neat things that can be done for the tool paths but like everything else we erred on the side of the most robust and simple approach.
For the router motions we first computed the convex hull of the part to be printed and removed all waste material within that region. This was necessary since left over material inside the part may not be removable.
We then add extra cuts outside the model to allow removing the waste material outside of the part convex hull. In this case we simply add a “cross mark” around the model. This allowed us to slice the sheets with a circular saw one at a time and pull them off the model. This worked really well.
For the glue paths we filled all overlapping regions between model layers with a spiral fill of glue. We also added a few dots of glue in the waste plywood surrounding the part to keep things stable but still frangible enough to break sheets apart.
Next steps
We only had 3 days to build this and there are plenty of things that we didn’t get to during this blitz as well as many things that we would do differently given a second chance. The biggest improvements for the existing machine center around toolpath generation. We would like to contour the edges of the parts to make them smooth as well as not have to machine away all the material inside the convex hull since it is time consuming and puts a lot of wear on the cutters.
Final note
We spend the other 362 days of the year designing actually useful 3D printers. To do this takes almost every engineering discipline. If this sounds interesting you should reach out.